
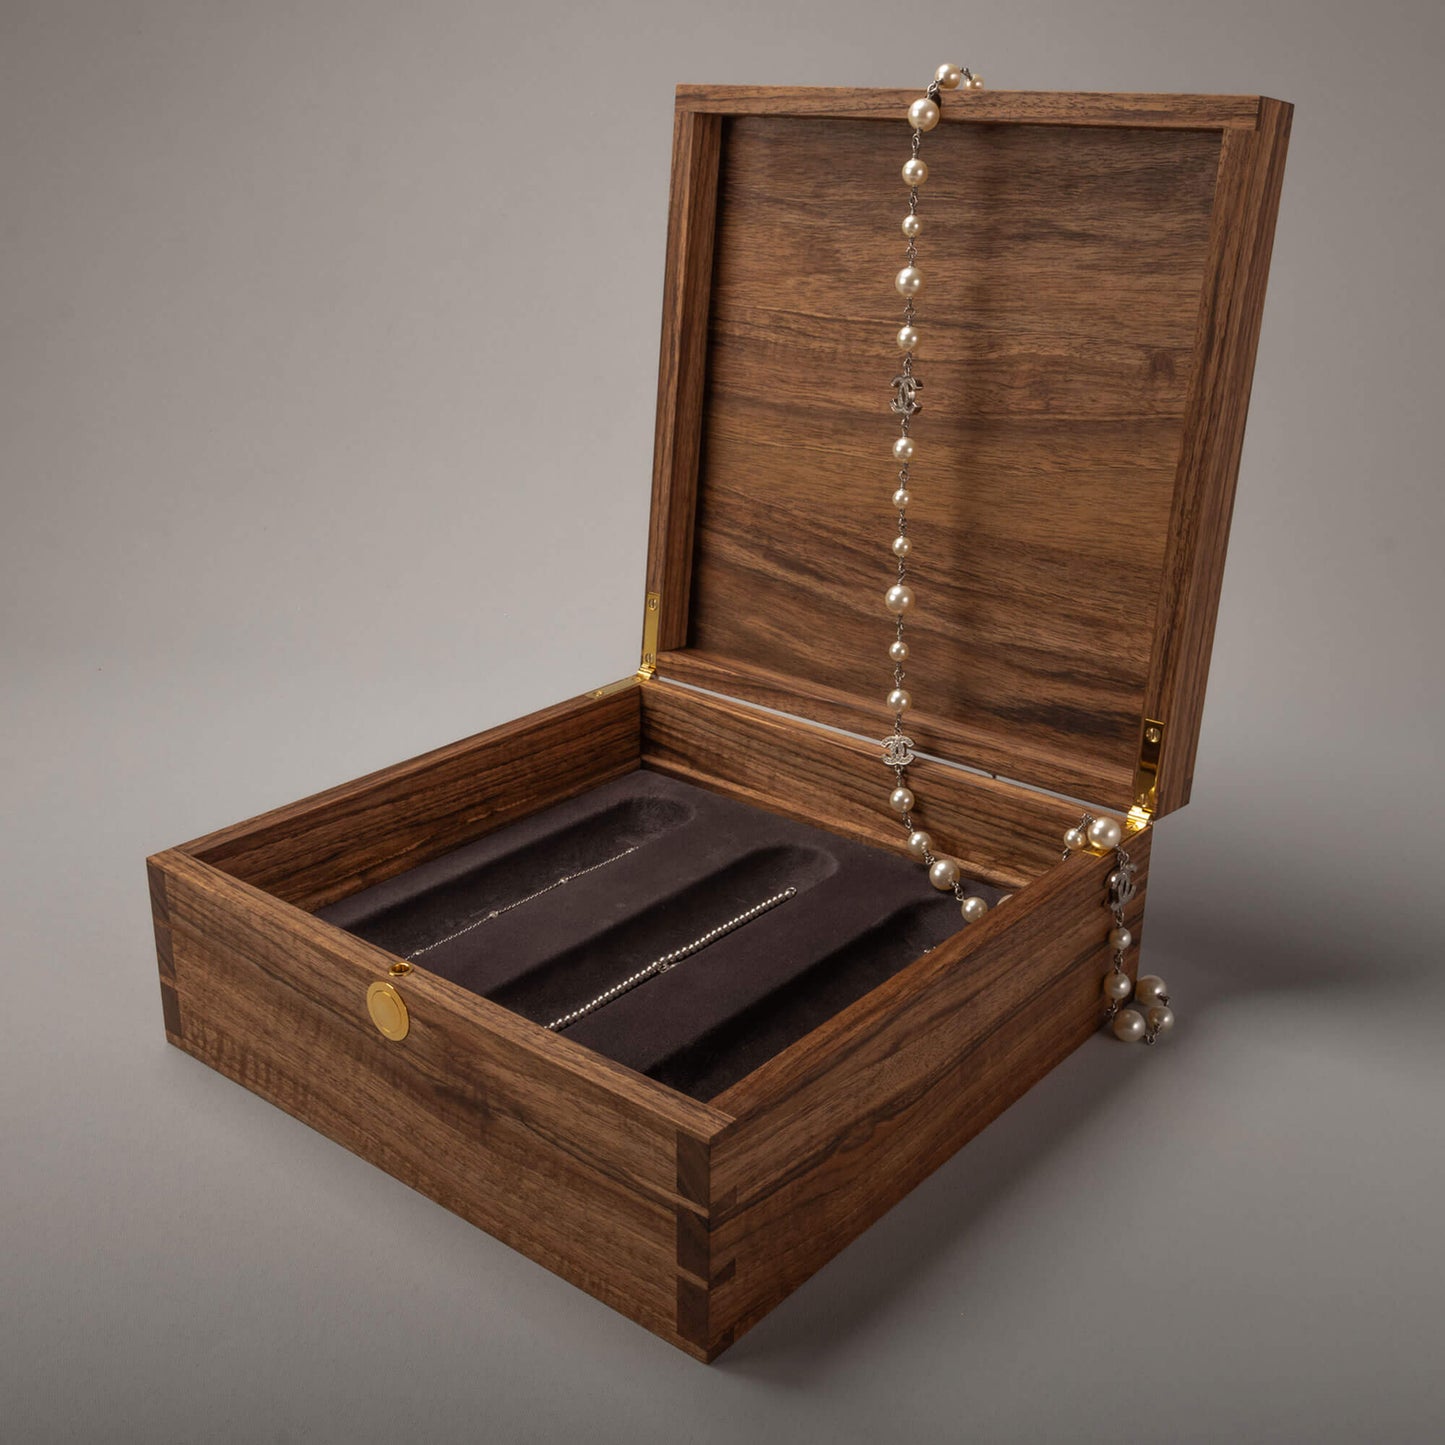


I use veneers in most of my pieces, but I tend to limit it to areas where the wear and tear of the surface is limited or controlled. The benefits are great, but it requires careful consideration where and when it’s used, I wouldn’t use this technique unless the edges are protected well with solid lippings and thoroughly developed through the gluing and pressing process. It’s great to use for a less functional purpose - a decorative pattern or personalised motif through the art of marquetry or parquetry.
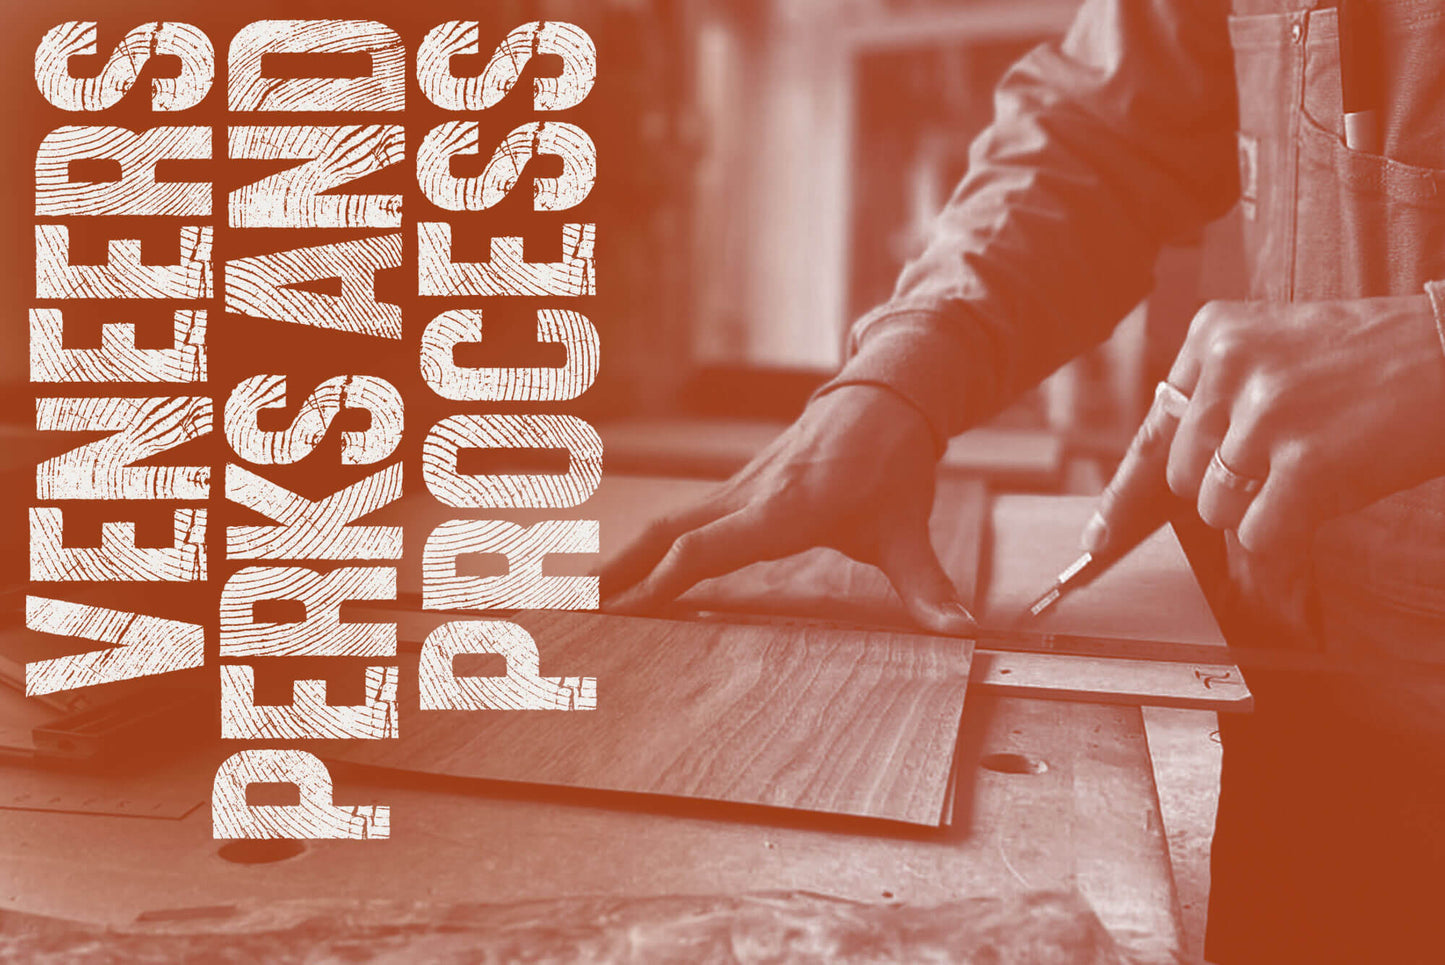
The veneering process.
Ideas and selection
It first begins with an idea, and a material, here I have been working with American Cherry. I like the subtleties of the grain and ease of working. From there one can take this insight and use it for inspiration to select the veneer from suppliers such as Mundy Veneer.

Veneer Selection: The veneer can be made from different species of wood, and is typically 0.6 mm to 3 mm thick. The wood species and grain pattern of the veneer are chosen based on the desired aesthetic.
Substrate Selection: The core or base material (e.g., plywood, MDF, particleboard) provides stability and strength. It should be flat, smooth, and free from imperfections.
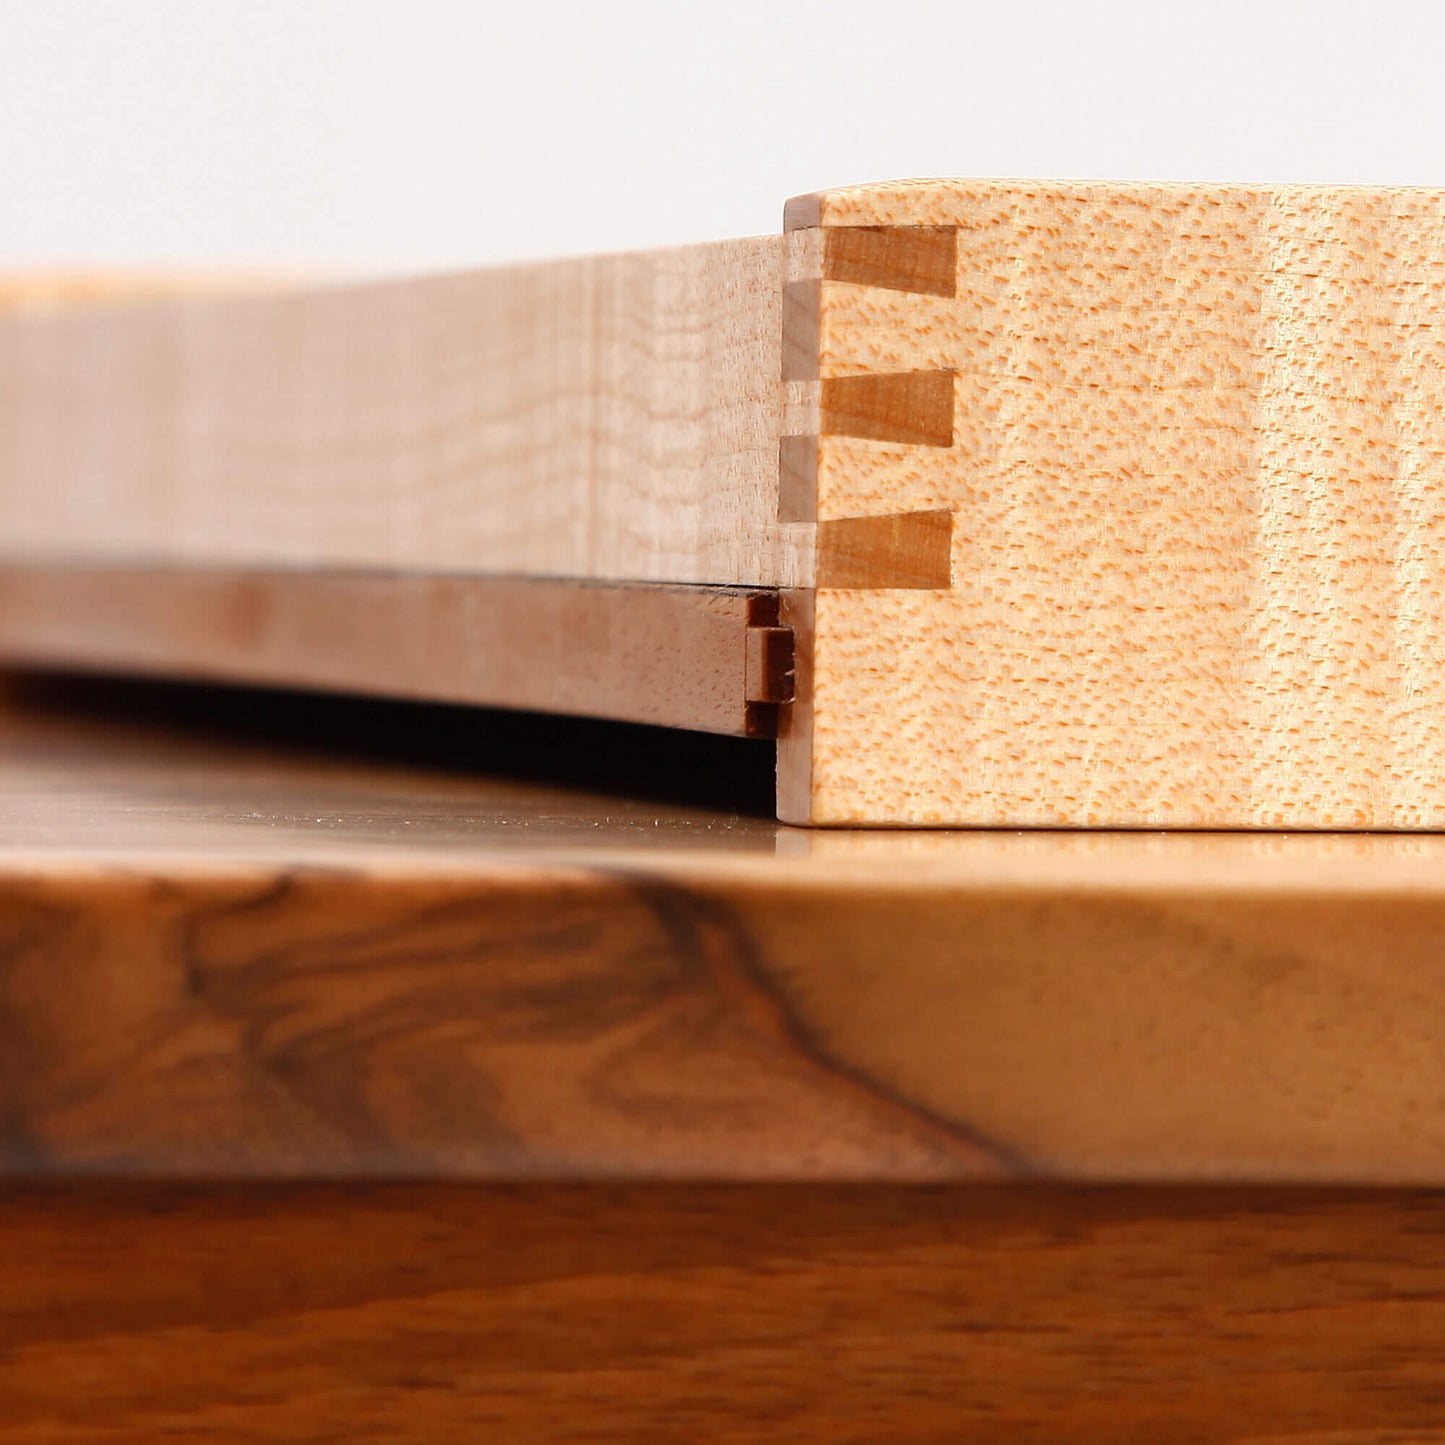
Preparing the Substrate: Joint in the process where the edges are jointed/matched so that you get a zero gap in the long joint. With veneering, one must also consider the edge matching and solid lippings are required. This is the real differentiator to other production methods at the lipping is added to the edge first and the veneer over the top and bottom to hide the joint.